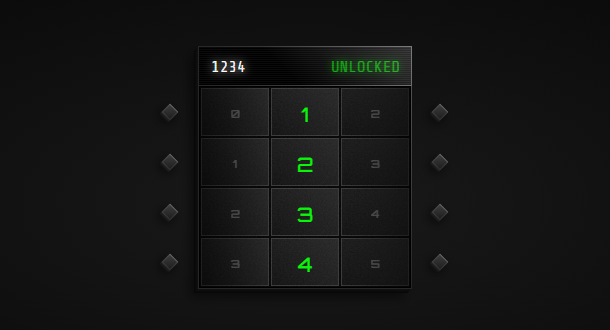
Today I bring you a more traditional but very practical CSS3 application. Its function is to quickly generate a picture with a mouse over special effects. When the mouse moves over the picture, the mask layer will open on the top of the picture, and it will appear from You can also use Font Awesome web icon library to implement various function buttons for the defined title and other text. In addition, it also has a feature that it can generate multiple pictures with this effect, and realize the corresponding layout, and change the best picture arrangement as the page size is adjusted.
Advertisement
<div class="container">
	<div class="row">
		<div class="col-md-4 col-sm-6">
			<div class="box">
				<img src="images/img-1.jpg">
				<div class="box-content">
					<h3 class="title">Williamson</h3>
					<span class="post">Web Design</span>
				</div>
				<ul class="icon">
					<li><a href="#"><i class="fa fa-search"></i></a></li>
					<li><a href="#"><i class="fa fa-link"></i></a></li>
				</ul>
			</div>
		</div>
		<div class="col-md-4 col-sm-6">
			<div class="box">
			   <img src="images/img-2.jpg">
				<div class="box-content">
					<h3 class="title">Miranda Roy</h3>
					<span class="post">Front-End Development</span>
				</div>
				<ul class="icon">
					<li><a href="#"><i class="fa fa-search"></i></a></li>
					<li><a href="#"><i class="fa fa-link"></i></a></li>
				</ul>
			</div>
		</div>
		<div class="col-md-4 col-sm-6">
			<div class="box">
			   <img class="img-clip image-clip-5" src="images/img-3.jpg">
				<div class="box-content">
					<h3 class="title">Steve Thomas</h3>
					<span class="post">Website Building</span>
				</div>
				<ul class="icon">
					<li><a href="#"><i class="fa fa-search"></i></a></li>
					<li><a href="#"><i class="fa fa-link"></i></a></li>
				</ul>
			</div>
		</div>
	</div>
</div>
.demo{
	padding: 2em 0;
}
.box{
	background: linear-gradient(#8E2DE2,#4A00E0);
	font-family: 'Merriweather Sans', sans-serif;
	border-radius: 7px;
	position: relative;
	overflow: hidden;
}
.box:before{
	content: "";
	background: -webkit-repeating-linear-gradient(45deg,rgba(0, 0, 0, 0.1) 10px,
				transparent 10px,transparent 20px,rgba(0,0,0,0.1) 20px,rgba(0,0,0,0.1) 30px,
				transparent 30px,transparent 40px,rgba(0,0,0,0.1) 40px,rgba(0,0,0,0.1) 50px,
				transparent 50px,transparent 60px,rgba(0,0,0,0.1) 60px,rgba(0,0,0,0.1) 70px,
				transparent 70px,transparent 80px,rgba(0, 0,0, 0.1) 80px,
				rgba(0, 0,0, 0.1) 90px,transparent 90px);
	width: 100%;
	height: 100%;
	opacity: 0;
	position: absolute;
	top: 0;
	left: 0;
	z-index: 0;
	transition: all 0.5s;
}
.box:hover:before{ opacity:1; }
.box img{
	width: 100%;
	height: auto;
	transition: all 0.5s ease;
	-webkit-clip-path: polygon(0 0, 100% 0, 100% 100%, 0 100%);
	clip-path: polygon(0 0, 100% 0, 100% 100%, 0 100%);
}
Advertisement